
On a freshly assembled oak piece of furniture, the sharp edges catch the finger and mark the varnish. A simple pass with a router and the right bit solves the problem in seconds, where manual sanding would take several minutes per edge without guaranteeing uniformity. It is precisely this ability to bevel quickly and cleanly that makes the router an underrated tool in the woodworking shop.
Beveling with a router: cutting control and bearing guidance
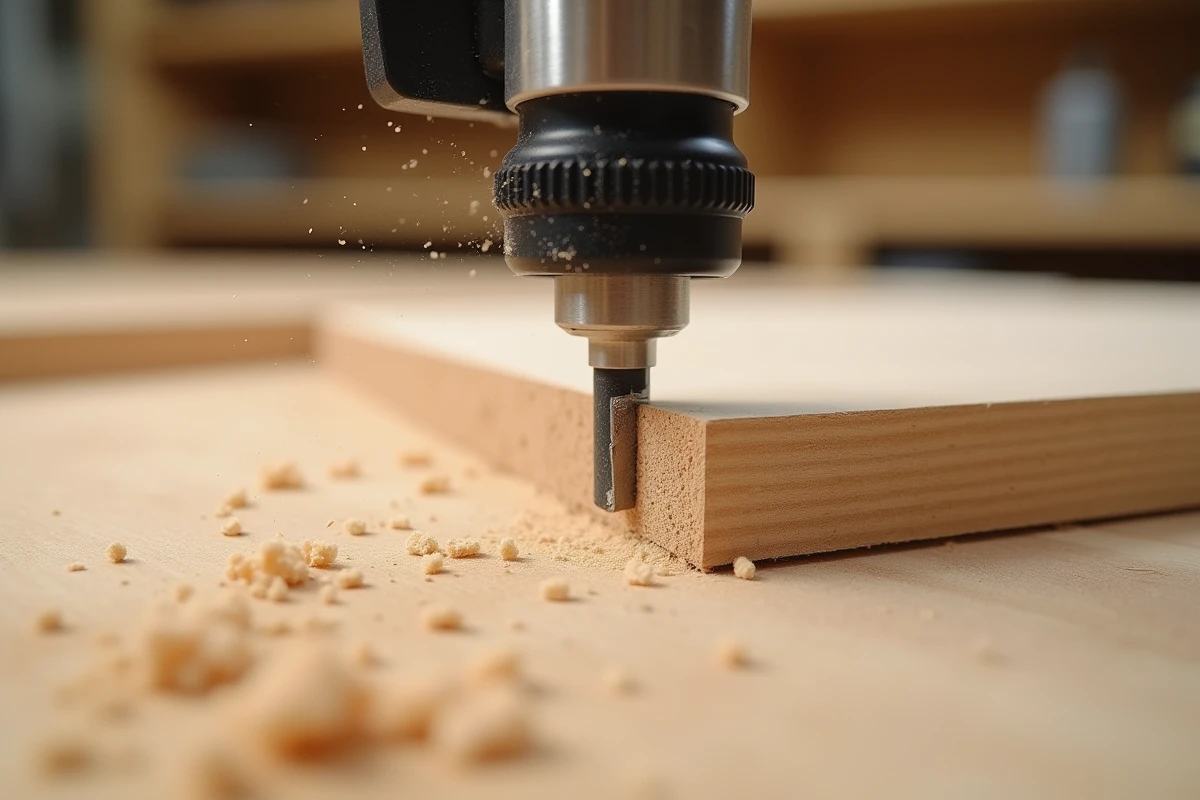
The router is often mentioned for trimming melamine edges. Its usefulness for beveling deserves just as much attention. The difference lies in a technical point: the guide bearing mounted on the beveling bit.
See also : How to Optimize Your Use of Online Messaging Services
This bearing follows the reference surface (the face or edge of the piece) and maintains constant contact. The result: the bevel remains uniform along its entire length, even on a curved or slightly irregular piece. With a hand plane or sandpaper, achieving this consistency over more than a meter is quite a challenge.
The router is held with one hand. On small sections (edges of shelves, corners of frames, edges of veneered panels), this maneuverability changes the game. You position the bit, move at a steady speed, and the bevel is clean. When you decide to use a router to bevel, you mainly gain in repeatability: each edge receives exactly the same treatment.
See also : Find Your Dream Car: A Practical Guide to Choosing the Right Vehicle
Beveling bit on a router: which angle and material to choose
The choice of bit determines the entire result. For beveling, a beveling bit (or 45° bit) is used, but other angles exist depending on the desired finish.
- The 45° beveling bit with bearing is the standard for breaking an edge. It removes just enough material to eliminate the sharpness without altering the profile of the piece.
- A 30° bit produces a more discreet bevel, suitable for decorative finishes on solid wood where you want to soften without making too much of a mark.
- Tungsten carbide bits are suitable for solid wood, MDF, and plywood. For melamine or laminate, reversible insert bits are preferred as they better withstand the abrasiveness of the coating.
The milling depth can be adjusted in seconds on most routers thanks to the depth stop. An overly aggressive setting tears the fibers instead of cutting them. It is recommended to start with a light pass and then adjust if the bevel needs to be more pronounced.
Cutting direction and finish quality
On straight-grained wood, the router works cleanly in both directions. On end grain, the risk of chipping increases. The solution: tackle the bevel from the end grain first, then finish with the longitudinal edges. This sequence avoids chipping at the corners because the subsequent pass comes to “clean” the vulnerable area.
Feedback varies on the optimal rotation speed depending on the wood species. On oak or beech, a medium speed provides a good compromise between clean cutting and absence of burning. On softwoods, you can increase the speed without risk of thermal marking.
Router or plunge router for beveling: when one replaces the other
The plunge router accepts the same beveling bits. On paper, it does the same job. In practice, the difference comes down to three concrete points.
First, weight. A router weighs significantly less than a traditional plunge router. On a piece of furniture with several dozen edges to treat, the accumulated fatigue with a plunge router becomes a real factor of error. The hand tightens, the movement loses fluidity, and the bevel becomes irregular.
Next, bulk. The router fits where the base of a plunge router cannot: tight interior angles, frame returns, small pieces held in a vise. On a drawer assembled with dovetails, beveling the interior edges with a plunge router is nearly impossible without disassembling the whole.
Finally, power. For a finishing bevel (a few millimeters of material removed), the power of a router is more than sufficient. The plunge router is only justified if the bevel exceeds one centimeter or if you are transitioning to grooving, profiling, or mortising tasks that require higher torque.

Safety and tool handling on small wooden edges
Beveling narrow edges, typically under two centimeters thick, poses a stability issue. The base of the router only partially rests on the piece, and tipping is a concern.
Two precautions significantly reduce the risk. The first: securely clamp the piece. A clamp or a carpenter’s vise prevents any movement during the pass. The second: use the tilting base if the router is equipped with one, to increase the support surface on thin edges.
The one-handed handling, an advantage of the router for maneuverability, becomes a disadvantage if the piece moves. You stabilize the piece, not the tool. For repetitive tasks (beveling cladding boards, for example), mounting on a compact router table transforms the router into a fixed station and secures each pass.
Protection and dust extraction
The shavings produced by beveling are fine and volatile. A dust extraction adapter connected to the router maintains visibility on the cutting line and limits inhalation of wood dust. Most recent models offer this accessory, sometimes as an option.
Beveling with a router requires neither a high budget nor a long learning curve. A 45° bit with bearing, a controlled depth adjustment, and a well-clamped piece are enough to produce clean and uniform edges on any wood species. For a workshop that regularly works with wood, it is one of the most cost-effective investments in time saved per finished piece.